From Civil 3D to Revit: How to Transfer Topography Between BIM Software
When approaching a civil engineering project using BIM methodology, choosing an effective workflow is essential to the success of the project, as we need to transfer geometry and information smoothly from one tool to another, for example, from Civil 3D to Revit. One of the main challenges is often the large size of Autodesk Civil 3D files, which can make them difficult to manage. In this series of posts, we will explain how to work efficiently on Civil BIM projects:
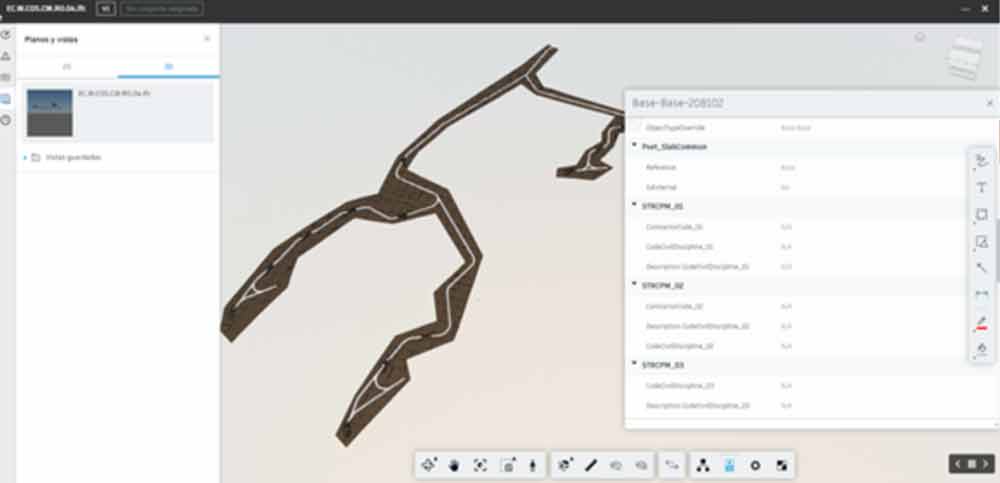
Publishing topography to BIM 360: Autodesk’s solution
In the latest versions of Civil 3D, Autodesk has been incorporating tools that improve interoperability between Civil 3D and other BIM design applications such as Autodesk Revit. One example is the "Publish Surfaces" tool, which is a very useful option when we want to transfer TIN surfaces from Civil 3D to Revit topography.

However, this tool is not suitable if we want to share geometries other than TIN surfaces. It is also not suitable for grid surfaces or "large surfaces", so in some cases we need to work with other solutions such as the following.
Workflow with Dynamo: a simple solution still in the testing phase
A simple and fast way to work with these elements is to use the Dynamo plugin available within Civil 3D (https://dynamobim.org/download/), which is available for Civil 3D 2020. If you have previously used this application with Revit or FormIt, you will notice that adapting to it in Civil 3D is not difficult. However, it is important to keep in mind that it is relatively new and therefore much more limited, while its elements and classes are somewhat different.

However, in other situations, the large amount of geometry involved in civil engineering projects means that Dynamo is not always the fastest or most efficient solution. In these cases, we need to work directly with the core of the software through its API, considerably improving computer performance and making the workflow more stable. This means users do not need to worry as much about the size of the files they are working with, different software versions, package stability or package versions, among other factors.
ATBIM solution: API-based workflow
Here is an example of these solutions optimized using the Civil 3D API:
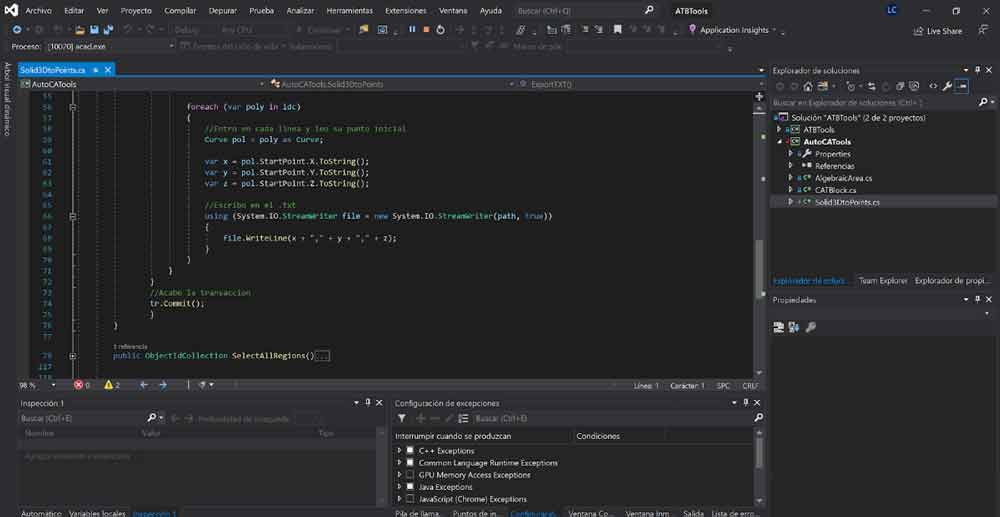
As mentioned above, our main problem is usually file size. If the topography is very large, when importing the CAD file, Revit may not be able to manage and move it correctly. To solve this problem, we propose the following steps in the workflow:
Explode the 3D solids in Civil 3D.
Run ATBIM’s SolidtoPoints command (you can contact us to request the app).
Create a surface from a .txt point file and select the file exported by ATBIM’s SolidtoPoints command.
Here is a demo video showing the complete workflow. We hope you find it useful!