3D Printing a BIM Model from Revit, Part 2: Model Slicing
How slicing software works
Slicing software generates a G-code file (.gcode) containing information about the movements, temperatures and amount of material required to print a model.
There are many slicing programs available. The option we recommend here is Cura, which is free, open source and regularly updated with new features.
Importing the file
We can now load the .stl file into the slicer, select the profile for our printer (or create one if it is not available) and adjust parameters such as layer height, speed, perimeters and infill to achieve the desired results while optimizing printing time:
- Layer height affects the quality of the part and the time required to print it.
- Perimeters determine the strength of the walls.
- Infill determines the density and pattern of the material between the walls.
- Speed and material settings determine the movement and temperature at which the material is extruded.
Tip: for overhangs, we recommend using custom supports. After experimenting with several types, tree supports provided the best results and were the easiest to remove. Meshmixer, a free Autodesk application, can be used for this purpose.
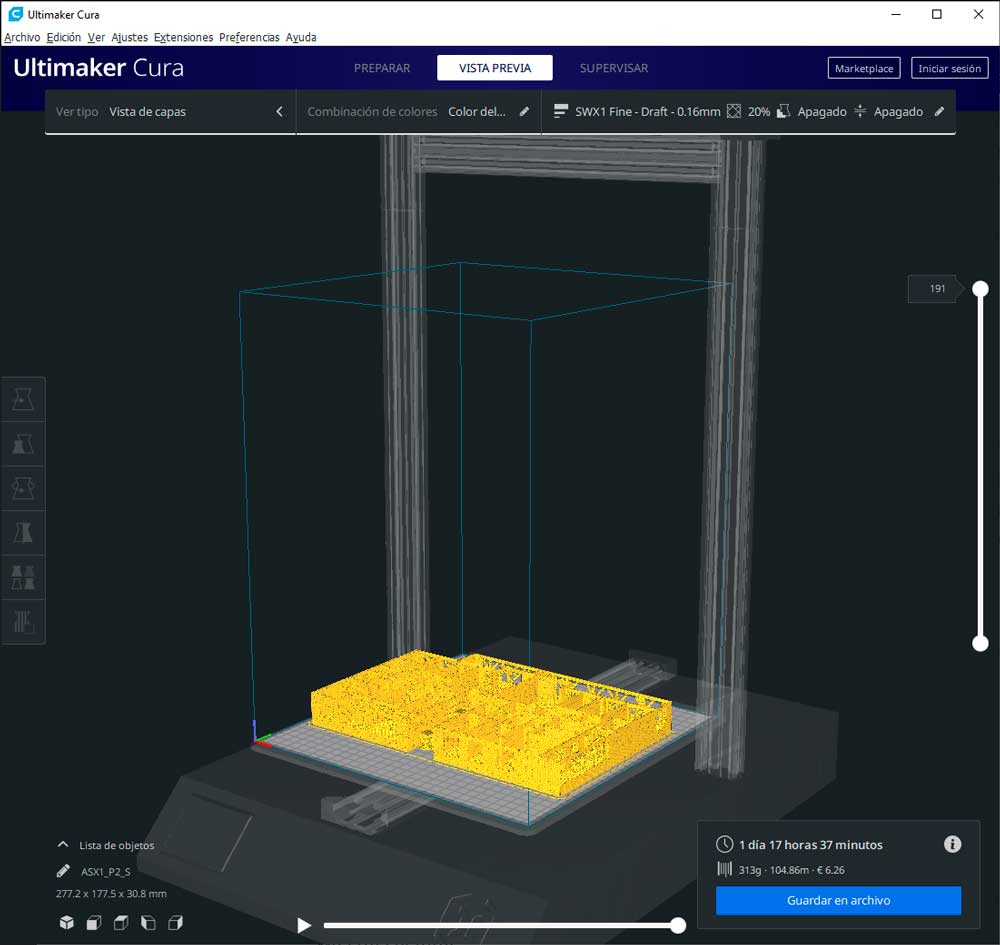
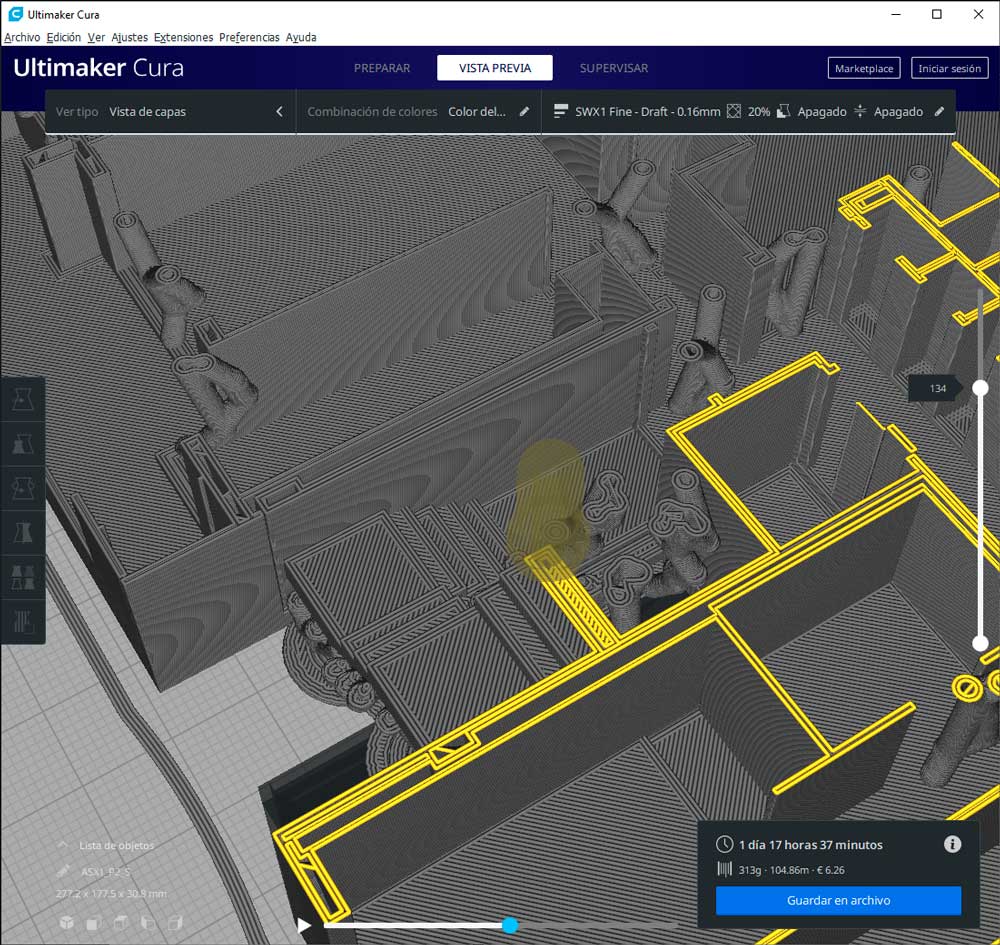
Screenshots of the slicing software
It is now ready to print
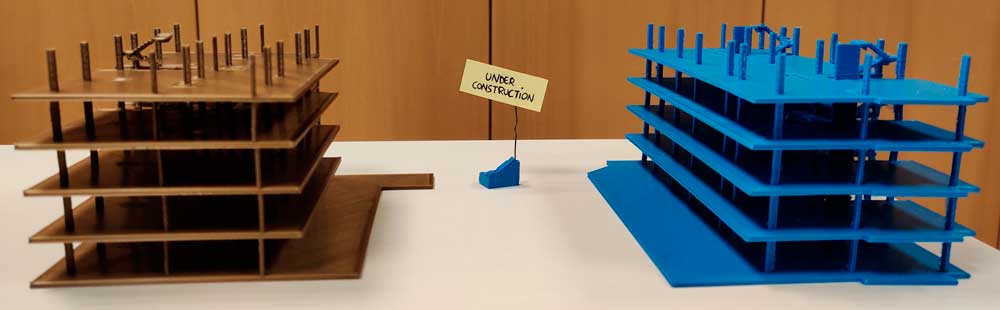
This file can now be read by any compatible 3D printer, so we can load it and simply press "print". All that remains is to remove the supports and enjoy our 3D-printed physical model.
If you have any questions about the printer or the parameters we use, please do not hesitate to contact us.
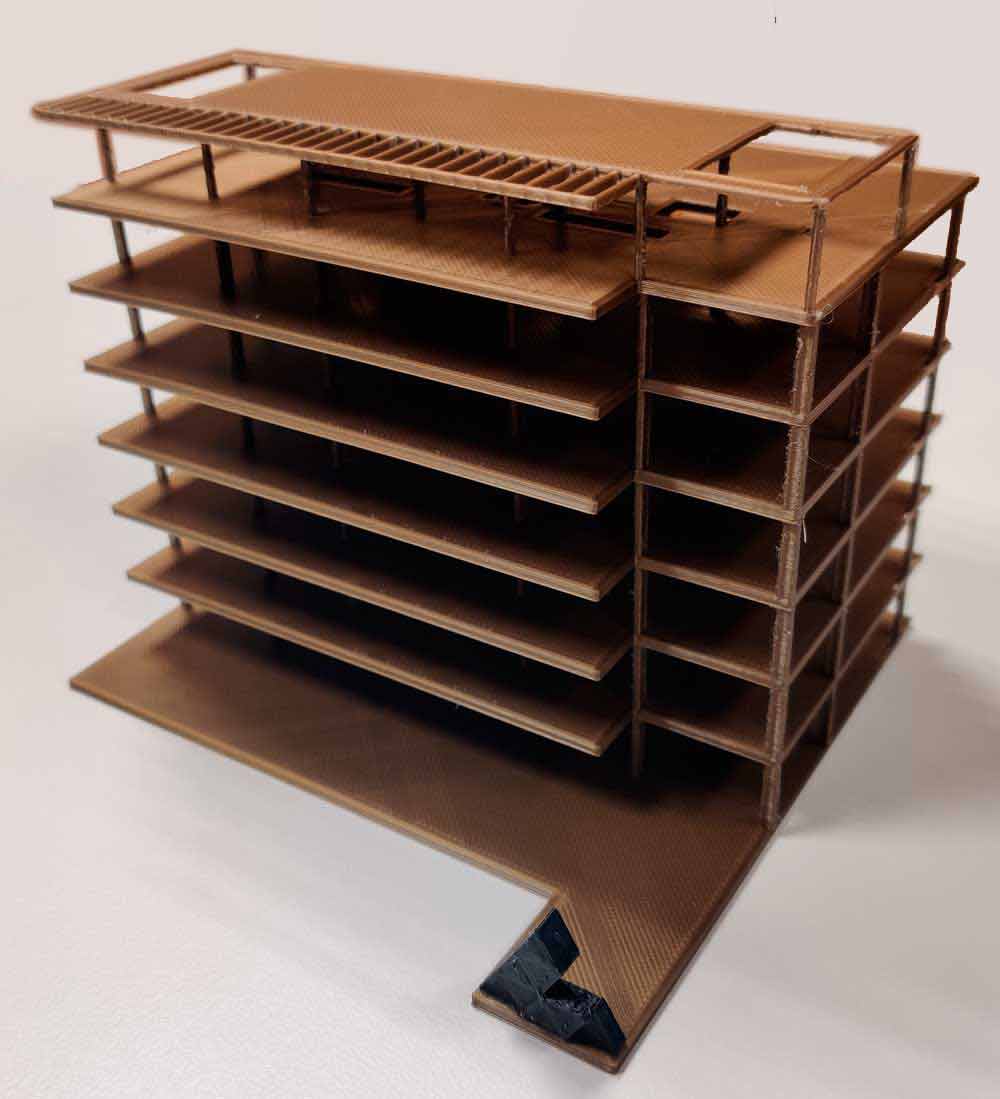
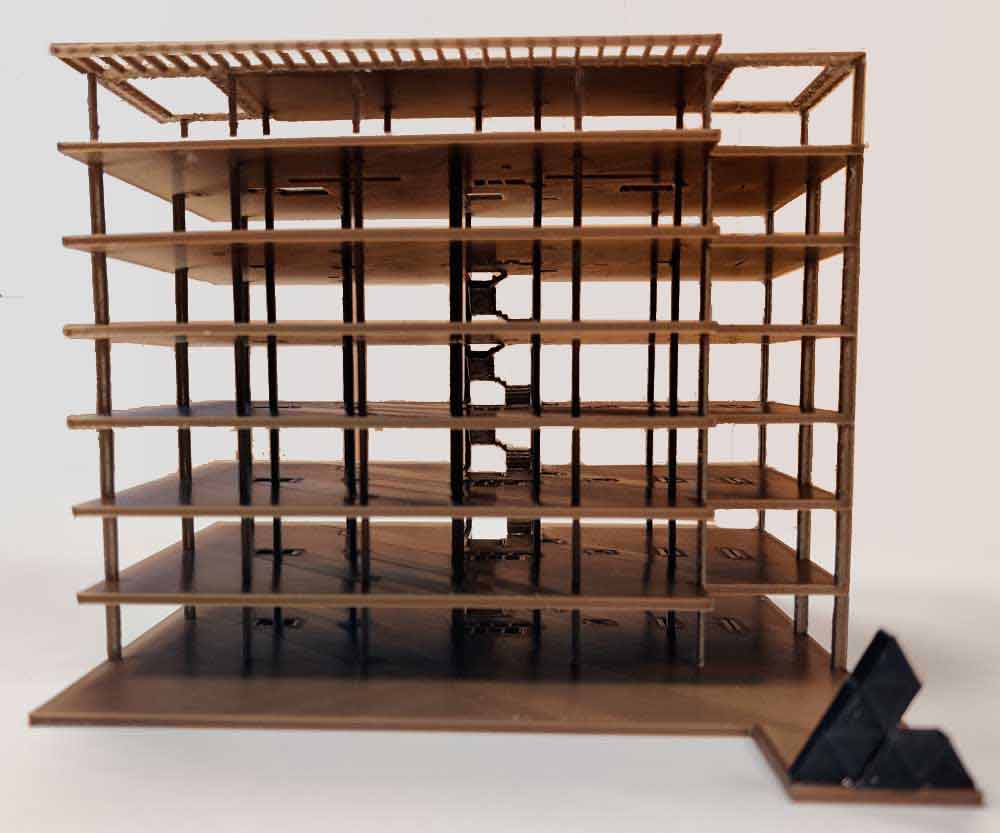
Overview of several models from the same residential development
If you would like to learn how to export BIM models from Revit, don’t miss the first part of the post.