3D Printing a BIM Model from Revit, Part 1: Exporting the Model
Physical models are a very useful tool in the AEC industry for displaying a scaled representation of a project. But let’s be honest: now that we have BIM models and 3D printers, many of us have considered leaving foam board and hours of gluing behind and instead 3D printing our Revit models with exact dimensions, no matter how complex their geometry may be.
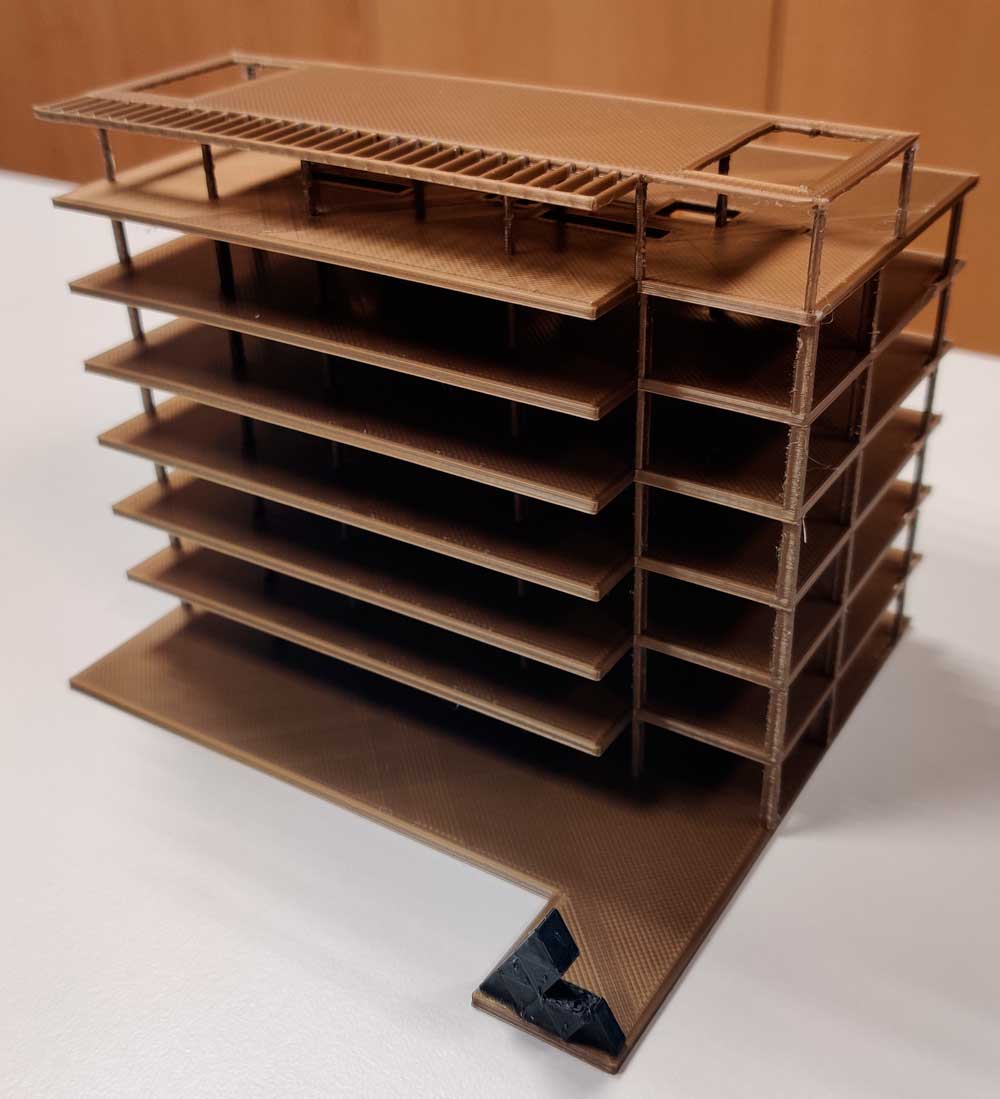
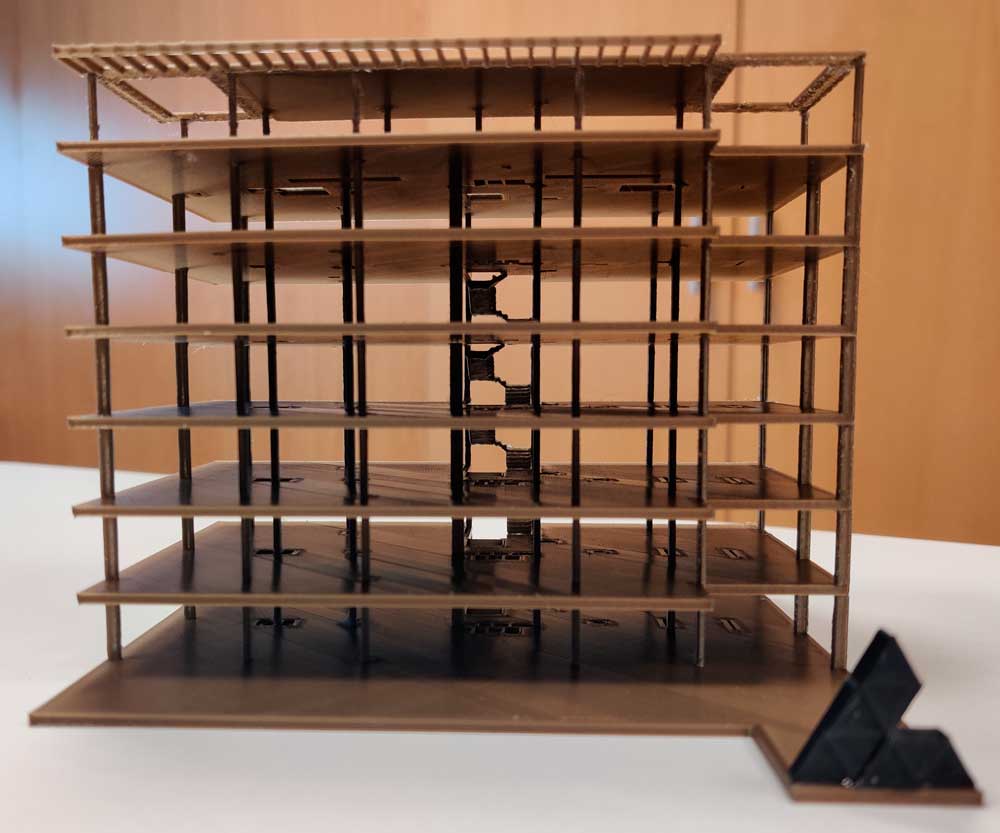
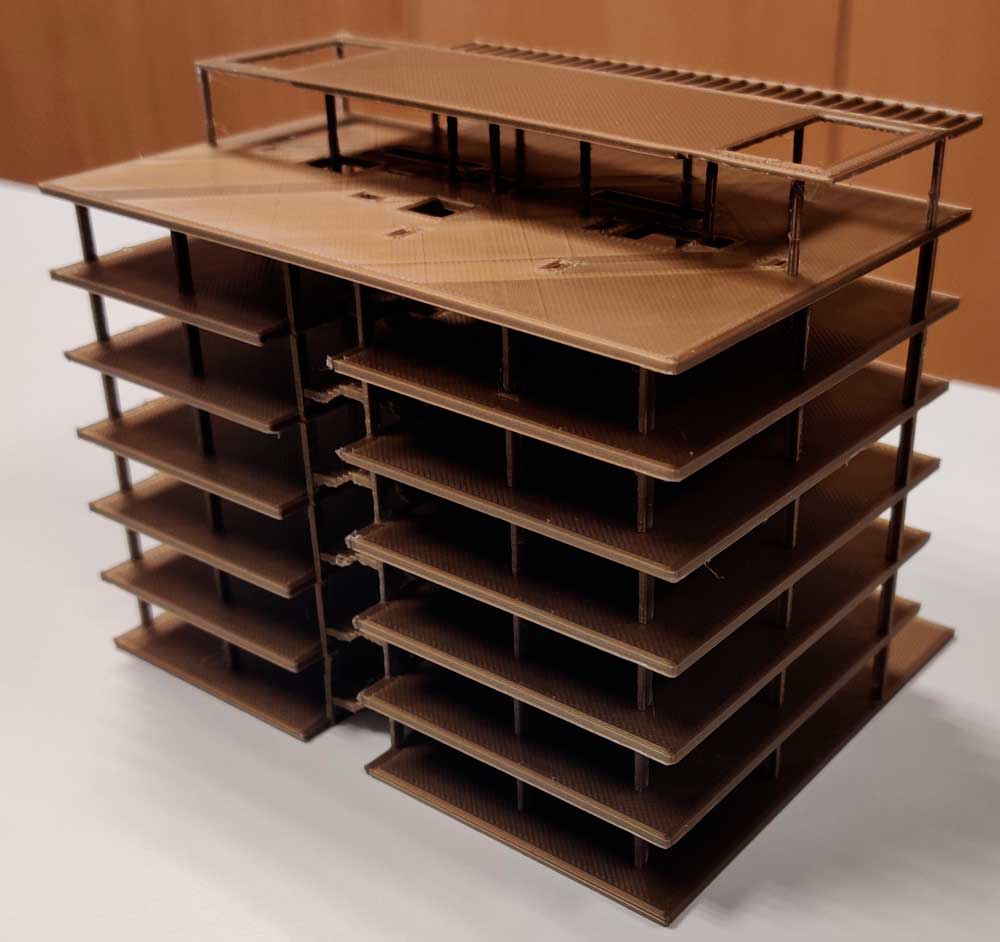
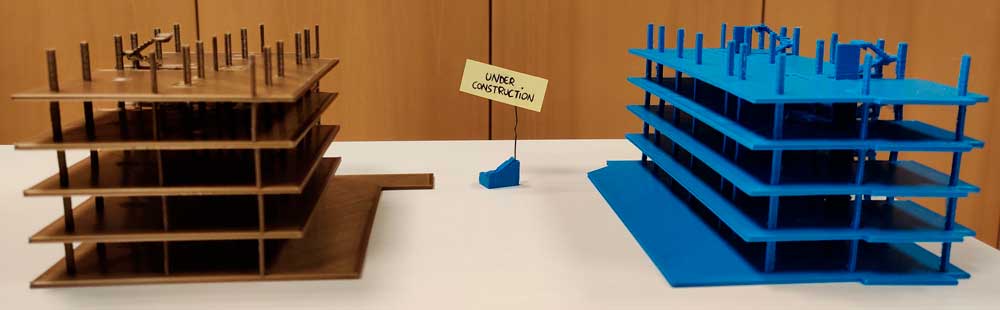
Models exported from Revit and 3D printed
In this post, we will show you how to 3D print a Revit model. To do so, we will need the "STL Exporter" add-in compatible with the version of Revit we are using.
Preparing the model
Before exporting the model, we need to understand that everything displayed in the active 3D view will be exported in ".STL" format as a triangular mesh.
Important! If we have visible categories containing elements that cannot be seen from the outside, those elements will also be modeled and exported.
When exporting a BIM model for 3D printing, these are usually the three most common scenarios:
- Complete model: we will create a general 3D view, hiding anything we do not want to export using filters, categories or individual elements.
- Specific floors: we need to create a separate 3D view for each floor so that each one can be exported independently from the rest.
- A detail/junction: section boxes can be used to isolate a problematic area or a particularly complex part of the model.
Tip: we recommend using a view template and applying it to the views that will be used to export the models. This way, the categories we do not want to print will always remain hidden, and any elements we do not want to display can be filtered out.
Exporting the model
Once our views have been created and the templates applied, we can export the model. With the desired view active, we launch "STL Exporter", which displays a window with two tabs like the ones shown below.
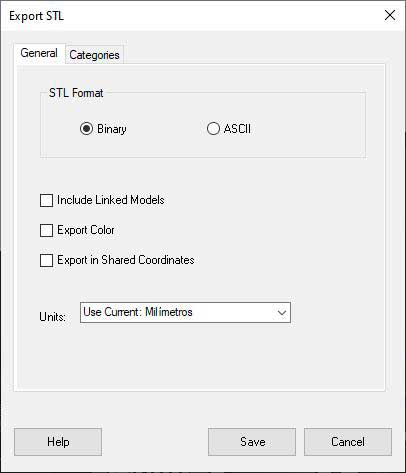
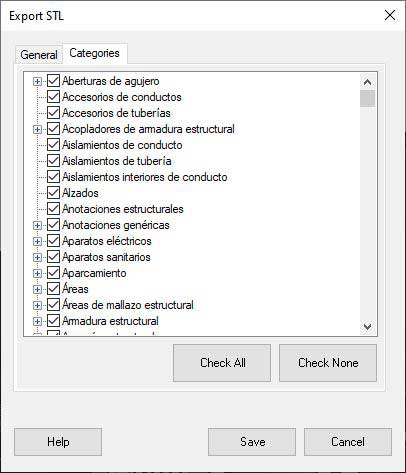
Screenshots of the add-in
From the first tab, we can define the .stl format, include elements from linked models, export the model with colors, include coordinates or change the units.
Tip: if you want to export elements from linked models, it is better to copy those elements or use Bind Link, as the exporter does not recognize the section box for linked models and would therefore export all their elements.
The second tab contains a category selector, but if a view template has already been applied, this step will not be necessary.
If you would like to learn how to slice the model and print it, don’t miss the second part of the post.